Understanding Back Test Report Settings in Tradetron
Contents
Welcome back, fellow traders! Today, we're delving into the intricate world of back test report settings in Tradetron. Have you ever wondered how to ensure your back test report is accurate and tailored to your strategy? Well, you're in the right place! Let's break down the different settings and understand how to make the most of them.
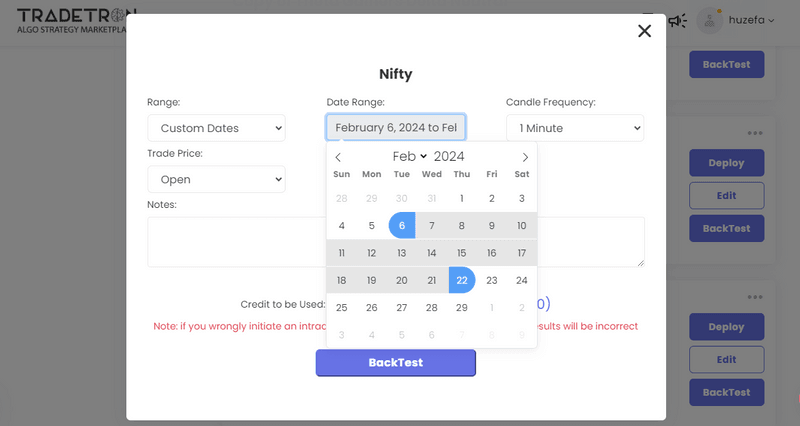
Setting the date Range: Historical Perspective
When triggering a back test report, one of the first choices you'll encounter is the range. This essentially determines how far back in time your back test will look. Whether you opt for 6 months, a year, or a custom period, this setting shapes the historical data your report will analyze.
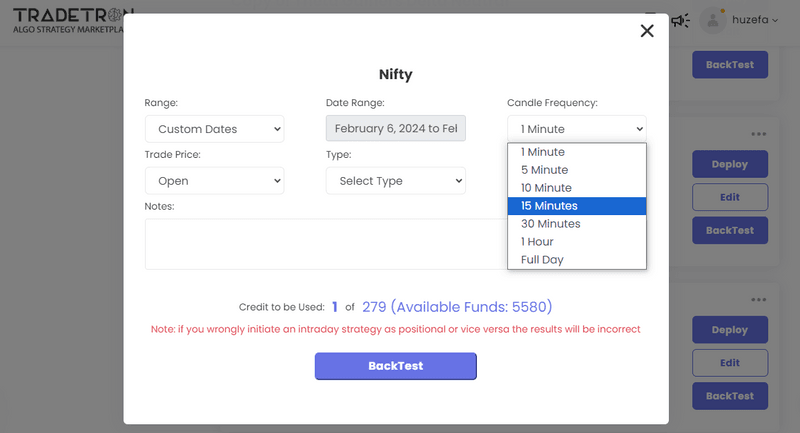
Candle Frequency: Timing is Key
Next up is candle frequency, a critical yet often misunderstood setting. It's crucial to match the candle frequency with your strategy's time frame. For instance, if your strategy relies on 15-minute candles, opt for a frequency shorter than 15 minutes. This ensures accurate condition checking and avoids unnecessary delays in your report generation.
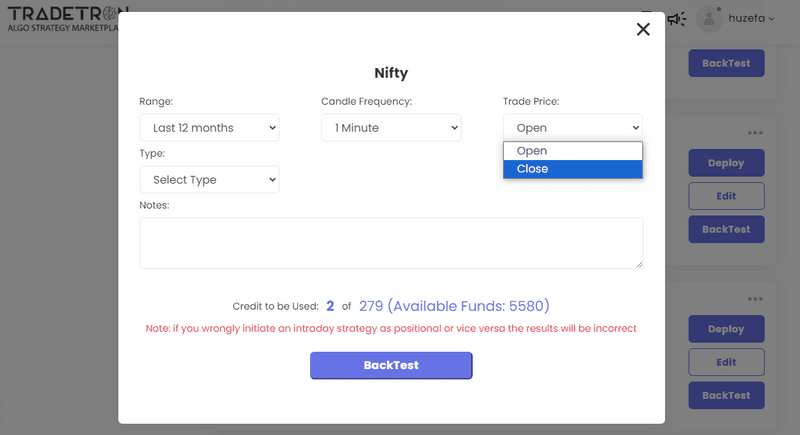
Trade Open and Close Prices: Technical vs. Price Action
Choosing between trade open and close prices depends on your strategy's nature.
If your strategy involves technical indicators based on past candle data, such as crossovers, opt for trade open prices.
If your strategy revolves around price action or last traded price (LTP), select trade close prices for precision.
Type: Intraday or Positional?
The type setting dictates whether your strategy is intraday or positional. Intriguingly, it affects how your trades are managed post-market hours. For intraday strategies, ensure a universal exit is in place to manage positions effectively.
Conversely, for positional strategies, consider the expiry setting carefully to avoid unintended run counter changes.
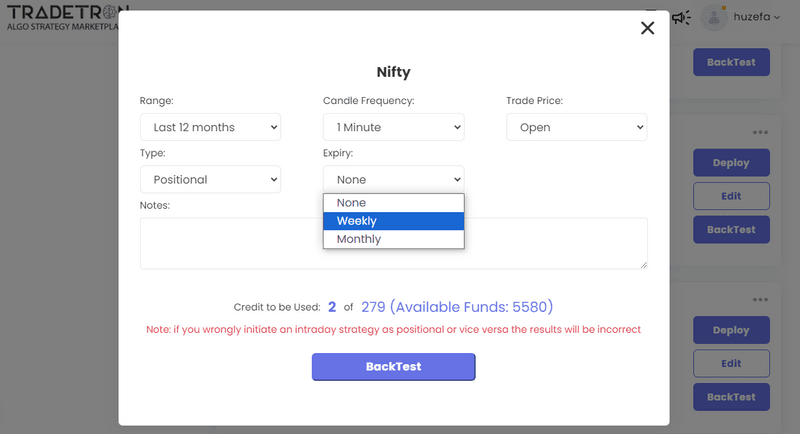
Expiry: Weekly, Monthly, or None?
Choosing the expiry setting is crucial for positional strategies. Weekly and monthly expiries trigger run counter changes post-expiry, impacting your strategy's continuity. Ensure your selection aligns with your strategy's behavior to avoid premature position exits or unwarranted run counter changes.
None:
Selecting "none" for expiry prevents run counter changes, ideal for strategies with multiple simultaneous expiries. This setting ensures continuity in trading activities without unnecessary disruptions post-expiry.
Conclusion: Mastering Back Test Settings
Understanding and selecting the right back test report settings is pivotal for accurate and insightful analysis. By aligning these settings with your strategy's characteristics, you unlock the full potential of Tradetron's back test capabilities.
And there you have it, traders! A comprehensive guide to navigating back test report settings in Tradetron. We hope this breakdown empowers you to make informed choices and optimize your trading strategies effectively. If you have any questions or topics you'd like us to cover in future sessions, drop us a comment or reach out via email. Until next time, happy trading!